Developing Dev Containers Without Docker Desktop Link to heading
If you’re in an organization where purchasing Docker Desktop licenses isn’t possible or financially feasible, you can still use Dev Containers in VS Code. You’ll have to do a bit of manual setup and learn a bit about bash on Linux but you can do it.
All of these instructions are available in various public docs but I’m pulling them all together here to make it easy to follow.
These instructions assume you are using Windows 11, Windows Terminal as your primary Terminal and PowerShell 7 as your primary shell in Windows, and you use winget to install software.
Install Ubuntu 24.04 Link to heading
First off, install Ubuntu 24.04 LTS from the Microsoft Store:
# From a PowerShell terminal
winget install 9NZ3KLHXDJP5 # The Store ID for Ubuntu 24.04 LTS
If you don’t have WSL2 installed, the installation process will walk you through it. Once you have completed the process, close all Windows Terminal windows and open a new Windows Terminal window. You’ll now have an “Ubuntu 24.04” option. Open it to complete the setup for Ubuntu 24.04 in WSL2.
The next step is to install the open-source version of Docker in WSL2. Note that this means you will not be able to run Docker commands from a PowerShell 7 terminal; Docker will only exist inside your WSL2 Ubuntu environment.
Install Docker Link to heading
Run the following commands in an Ubuntu terminal:
sudo apt-get update
sudo apt-get upgrade
sudo apt-get install ca-certificates curl
sudo install -m 0755 -d /etc/apt/keyrings
sudo curl -fsSL https://download.docker.com/linux/ubuntu/gpg -o /etc/apt/keyrings/docker.asc
sudo chmod a+r /etc/apt/keyrings/docker.asc
# Because of the way this is formatted you can copy and paste all four lines at once into your Ubuntu terminal
echo \
  "deb [arch=$(dpkg --print-architecture) signed-by=/etc/apt/keyrings/docker.asc] https://download.docker.com/linux/ubuntu \
  $(. /etc/os-release && echo "$VERSION_CODENAME") stable" | \
  sudo tee /etc/apt/sources.list.d/docker.list > /dev/null
sudo apt-get update
sudo apt-get install docker-ce docker-ce-cli containerd.io docker-buildx-plugin docker-compose-plugin
Now, to see if Docker works run sudo docker run hello-world. If everything has installed correctly then you should see
Docker downloading the image and outputting some container-generated text.
To use docker commands without having to run sudo all the time, run the following commands in your Ubuntu terminal:
sudo usermod -aG docker $USER
newgrp docker
docker run hello-world
If you get the same text as before then you no longer need sudo to run docker commands in Ubuntu.
Setting Up SSH For Cloning Repos Link to heading
Generate an ssh keypair for authenticating to git repositories:
sudo apt-get install keychain
ssh-keygen -t rsa  # Accept all the defaults and set a passphrase.  Record the passphrase some place secure
cat ~/.ssh/id_rsa.pub  # This will display the contents of the public key.  Select and copy this to the clipboard
Next, run nano ~/.bashrc and add the following three lines to the very bottom of the file:
# Enable caching of ssh keys in memory
/usr/bin/keychain $HOME/.ssh/id_rsa
source $HOME/.keychain/$HOSTNAME-sh
Hit Ctrl-O and Ctrl-X to save and exit.
What you’re doing is installing an ssh key agent that will run as a daemon and keep your decrypted ssh private key in memory. This will prevent VS Code from constantly prompting you for a password on every git operation.
Keep typing exit until the Ubuntu 24.04 terminal closes. Then start a new Ubuntu 24.04 terminal. You should see this:
* keychain 2.8.5 ~ http://www.funtoo.org
 * Starting ssh-agent...
 * Adding 1 ssh key(s): /home/cpdohert/.ssh/id_rsa
Enter passphrase for /home/cpdohert/.ssh/id_rsa:
Enter the ssh key passphrase which you totally wrote down in a secure place and remembered.
You now need to add your public key to your git repo host. Here I’m going to show Azure DevOps.
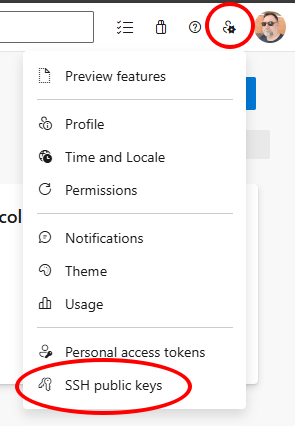
Log in to Azure DevOps and click on the gear the left of your profile thumbnail then SSH Public Keys.
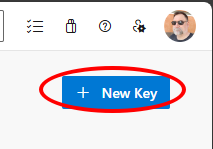
Click on New Key, give your public key a name and paste the contents of ~/.ssh/id_rsa.pub into the box and click Save.
Cloning Repos Link to heading
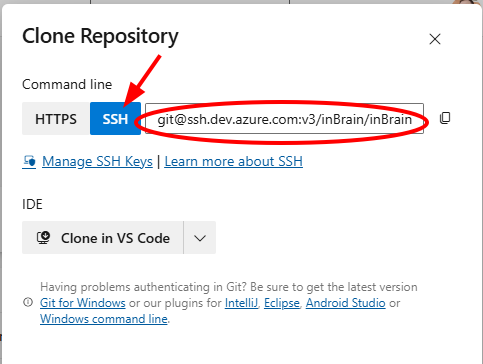
To clone repos into your Ubuntu WSL2 environment you’ll have to use the SSH URL instead of the HTTPS URL. Here’s how to do that in Azure DevOps:
Open the repo and click on the Clone button. On the popup window, select the *SSH tab. Copy the URL displayed.
Back in your Ubuntu terminal, run the following commands:
mkdir ~/repos
cd ~/repos
git clone git@ssh.dev.azure.com:v3/Organization/Project/Repo # paste the SSH URL here obviously
# The authenticity of host 'ssh.dev.azure.com (52.228.82.18)' can't be established.
# RSA key fingerprint is SHA256:<<obfuscated>>>>.
# This key is not known by any other names.
# Are you sure you want to continue connecting (yes/no/[fingerprint])? yes
# Warning: Permanently added 'ssh.dev.azure.com' (RSA) to the list of known hosts.
# remote: Azure Repos
# remote: Found 18183 objects to send. (142 ms)
# Receiving objects: 100% (18183/18183), 16.80 MiB | 26.38 MiB/s, done.
# Resolving deltas: 100% (11864/11864), done.
cd <name of the repo>
code .
VS Code will now start in Windows, but connected to your Ubuntu WSL2 instance.
Dev Containers (at last) Link to heading
If you look at the lower left corner of VS Code, you can see that you are connected to WSL:
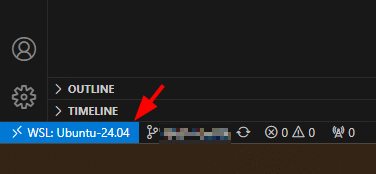
Click on the blue WSL tab in the lower left and you will get a Command Palette drop-down. Choose Reopen in Container:
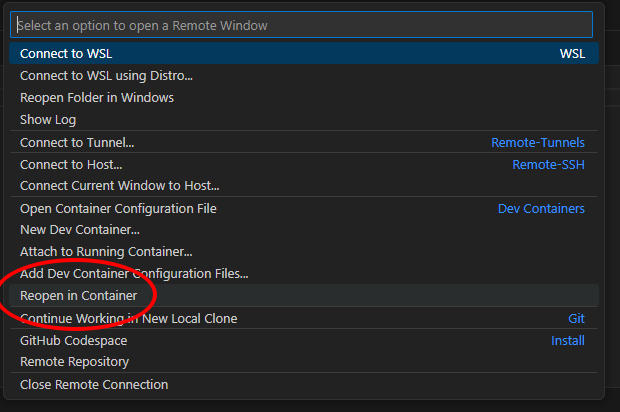
VS Code will present a list of possible containers. For the sake of example we’ll choose a Node.js container:
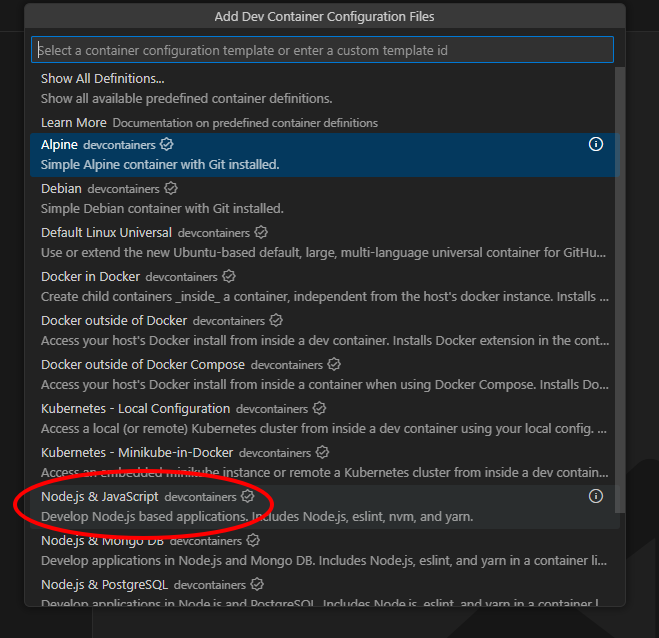
We’ll choose 20-bookworm - that’s Node 20 (the current LTS) on Debian 12.
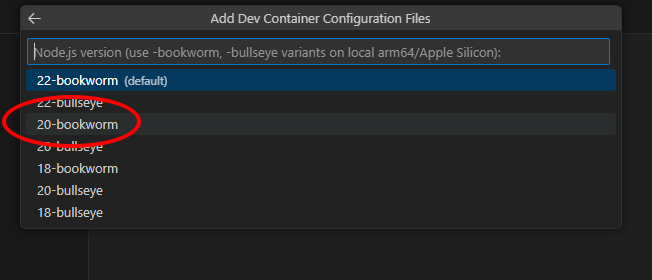
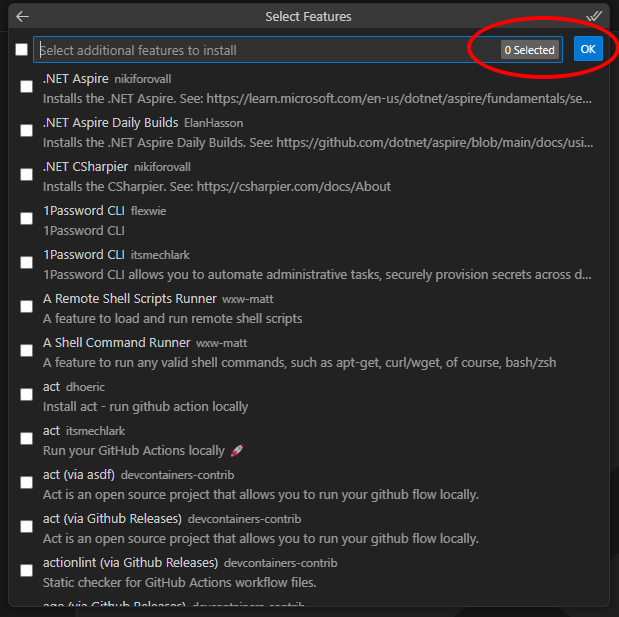
There’s no need to install additional features.
After the container builds, VS Code will refresh and you’ll now be operating inside the Node 20 container.
Final Words Link to heading
One largely unsolved problem with Dev Containers is that because the terminal in VS Code is running inside the container, you’ll lose any shell customizations (or indeed, your entire shell if you’re not using bash). You can customize your Dev Container to contain whatever additional tools or shells you prefer but there’s not currently an elegant way to replicate the host’s terminal environment inside a Dev Container.
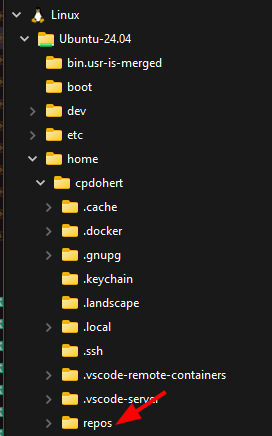
If you need to copy files in and out of your WSL2 environment, you can access the Ubuntu WSL2 filesystem in Explorer. Scroll down to the bottom of the Navigation Pane and expand the Linux icon; you’ll be able to access the WSL2 filesystem.