With Microsoft leaning ever farther towards the Dark Side, the .NET development ecosystem is becoming more and more command-line focused. If you’re a .NET developer, you’re likely used to working entirely within Visual Studio and never needing to exit that GUI. Odds are you’ve never opened a terminal window in your career.
Not least of which because up until recently Windows didn’t come with a decent terminal program. But I digress
It’s silly to advocate that Visual Studio developers should flip over to an entirely command-line driven development workflow, but if you need to run command line tools occasionally you can at least set up a much more pleasant terminal experience.
Note these instructions will only work on an up-to-date Windows 10 or 11 system.
Installing Link to heading
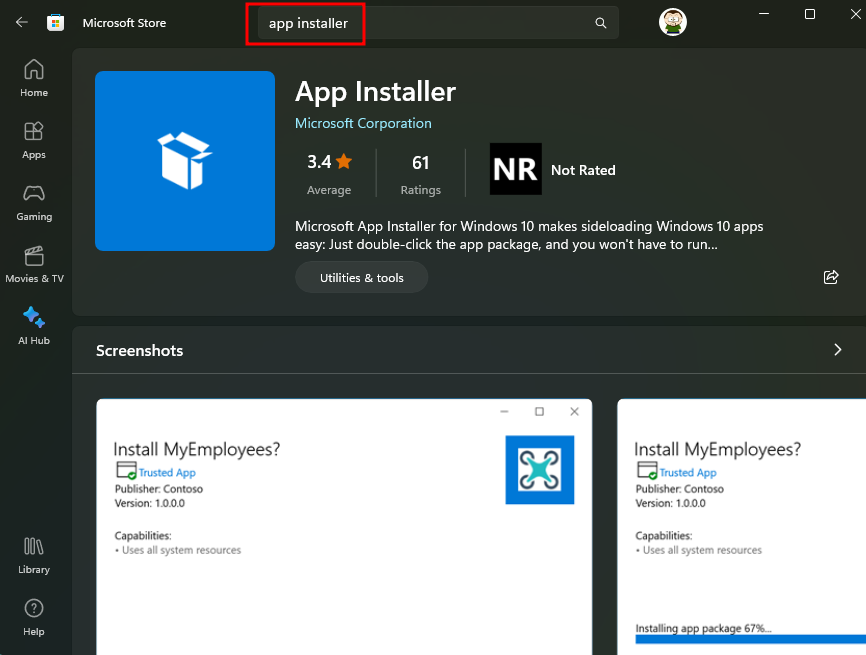
First of all, open the Microsoft Store on your Windows system, search for the App Installer and update it.
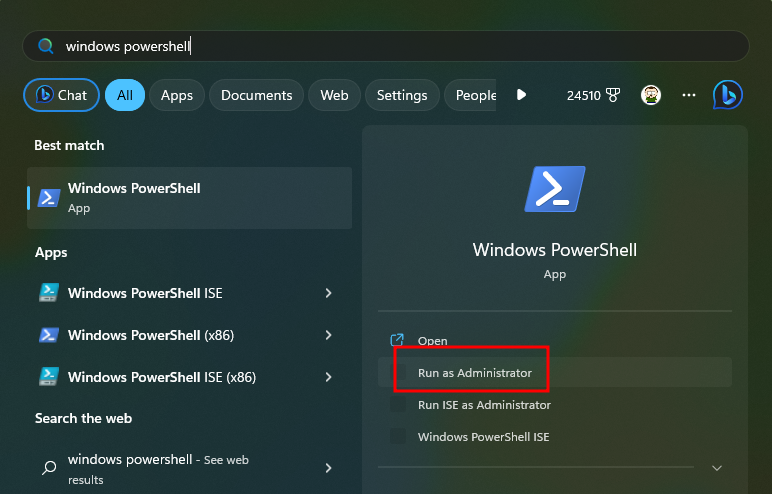
Next, search for Windows PowerShell from the start menu, and run it as Administrator.
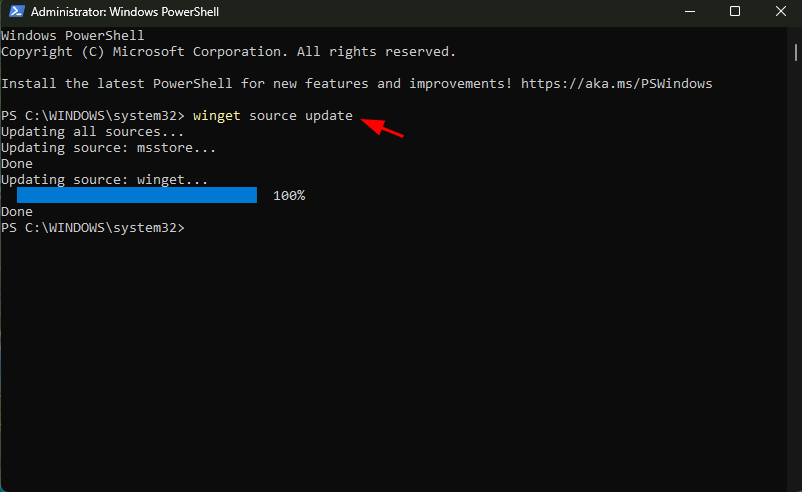
In the Admin Windows PowerShell console, type winget source update:
In that same Admin PowerShell window, we’re going to run a bunch of commands.
Yes, you could download these packages one by one and install them the old fashioned way, but you may as well get used to the terminal right away
Install the new Windows Terminal: winget install Microsoft.WindowsTerminal
Install the latest PowerShell: winget install Microsoft.PowerShell
Install Oh My Posh!: winget install JanDeDobbeleer.OhMyPosh
Install git: winget install Git.Git
Install a programmer’s font: winget install SourceFoundry.HackFonts
Configuring Link to heading
Now, let’s customize things a little bit.
Keep the Terminal handy Link to heading
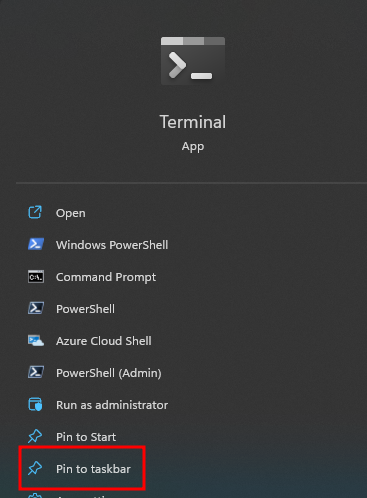
If you search for Terminal in the Start menu, you’ll see the new app. Click the V arrow to expand the menu and select Pin to taskbar.
Make the Terminal your default console Link to heading
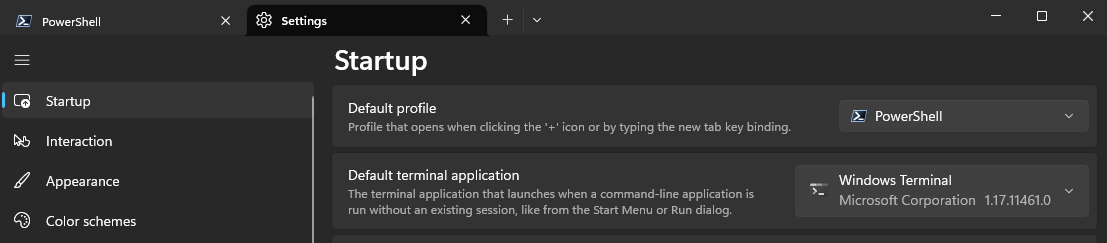
Open up the Terminal (but not as Admin). Press Ctrl+, (that’s Ctrl, and the comma) to open the Settings menu. Under
Startup set Default profile to PowerShell (not Windows PowerShell) and under Default terminal application, choose “Windows Terminal”.
Install posh-git Link to heading
posh-git is a PowerShell module that gives tab completion for git commands.
In the PowerShell tab of Terminal, run Install-Module posh-git
Enter Y if asked to trust PSGallery.
After, run Add-PoshGitToProfile.
Configure Terminal to use a programmer’s font with glyphs Link to heading
Consolas? More like inconsolable, amirite?
In Terminal, hit Ctrl+, again to get to Settings and choose Profiles > Defaults. Scroll down to Appearance
and click it. Under Font face, choose Hack.
Use Oh My Posh Link to heading
Oh My Posh! is a prompt themer that can do cool things like put glyphs in your prompt.
“Fish” is a nice simple prompt theme to get started with; read the Oh My Posh docs for more info on customizing your prompt.
Run the following from the PowerShell tab in the Terminal:
Write-Output 'oh-my-posh init pwsh --config $env:POSH_THEMES_PATH/fish.omp.json | Invoke-Expression' >> $PROFILE
Then run . $PROFILE to reload your profile (that’s a period, space, then $PROFILE) and you’ll have something
attractive like this:

Now, if you’re used to using the Developer Console in Visual Studio, you may be perplexed to find that despite all this configuration, you don’t have the Developer Console options in your terminal. In a future post I’ll cover how to add those if Windows Terminal didn’t pick them up and add them automatically.